Just as Gandalf was a beacon of hope and guidance for the Fellowship, so too can you become the cornerstone of support as an Augmentation Evoker in the latest WoW Dragonflight expansion. You’ve chosen a path that’s both challenging and rewarding, where your role as a buffer transcends mere damage output to become the lifeblood of your raid team’s success. With the power to bolster your allies’ strengths and mitigate the terrors that lie ahead, you’ll find that your strategic insight and adaptability are just as crucial as the spells you cast. In the treacherous depths of the Dragon Isles, where every encounter with formidable foes like Primalist Titans tests the limits of your coordination and skill, your mastery of augmentation will be the difference between glory and annihilation. Stay with me as we explore the nuances of optimizing your Evoker’s potential, where every decision you make could tip the scales in an epic battle for the ages.
Understanding Raid Encounters
Why is it crucial to grasp the intricacies of each raid encounter in WoW Dragonflight? Well, as an augmentation evoker and raid buffer, your role isn’t just about pumping out damage or healing numbers. You’ve got to understand how your unique abilities, like ebon might and blistering scales, interact with different boss mechanics. Talent trees offer a plethora of choices, but picking the right talents, like those enhancing your bronze attunement, can make or break a fight.
You’re not just there to look good on meters; you’re the shifting sands that can sway the tide of battle. Knowing when to use your buffs and when to hold back for the next big mechanic is key. It’s not about reacting; it’s about proactively planning your next move. You need to anticipate the boss’s abilities and prepare your group accordingly.
Mastering Augmentation Abilities
Understanding each raid encounter’s intricacies allows you to harness your augmentation abilities more effectively, ensuring you’re not just reacting but strategically enhancing every aspect of the fight. As an Aug Evoker, your role extends beyond that of a simple damage dealer. You’re there to boost the raid’s performance with every spell you cast.
Let’s dive into your class tree, where you’ll find Chaos Brand, a pivotal buff that increases the magic damage taken by enemies. It’s not just about your personal damage; it’s about amplifying the direct damage output of your entire team. Always prioritize applying Chaos Brand to bosses, as it can significantly shorten fight durations.
Moreover, don’t neglect your own damage potential. While supporting your team, utilize your augmentation spells to maintain a respectable position on the damage meters. Sync your cooldowns with high-damage phases of the encounter to maximize your output. Remember, a dead evoker does no damage or buffing, so keep an eye on your positioning and use your defensive abilities wisely.
Master these principles, and you’ll become an indispensable member of any raid group, elevating the performance of your allies and decimating your foes with finesse.
Positioning and Movement Optimization
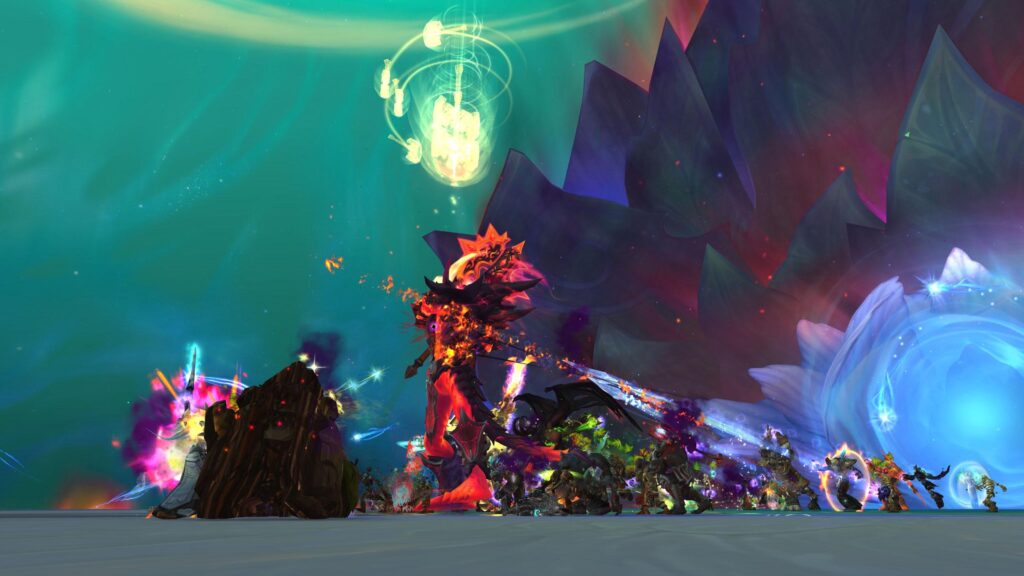
Mastering your positioning and optimizing movement are crucial to excelling in WoW Dragonflight’s raid encounters. As an Augmentation Evoker, you’ll find that your unique abilities allow for both casting on the move and enhancing your raid’s performance. Take Igira the Cruel, for example. When she gears up for Blistering Spear, use your Zephyr or Hover to maintain uptime while dodging. When your raid has to choose her next mechanic at 100 Energy, you’re in a prime position to recommend the best course of action based on your group’s setup.
In encounters like Volcoross, positioning is key to avoid cleaving your allies with Serpent’s Fury. Split your raid accordingly and be ready to soak Flood of the Firelands with your group defensives. For the Council of Dreams, positioning for optimal cleave while avoiding mechanics that can be baited is a fine balance you’ll need to achieve.
Evoker Group Support Strategies
While you’ve honed your skills in positioning and movement as an Augmentation Evoker, it’s equally important to focus on how your abilities can bolster the entire raid’s performance. You’re not just a cannon of raw power; you’re also a beacon of support, and it’s your job to ensure everyone’s at the top of their game.
In encounters like Igira the Cruel, you’ve got to be on point with your defensive abilities. When Igira’s energy hits 100, you’ll want to have Zephyr and Obsidian Scales ready to shield your allies from the Blistering Spear. And remember, using Hover isn’t just about keeping yourself safe—it allows you to continue casting while you help the raid dodge those deadly mechanics.
Now, against Volcoross, your Renewing Blaze is key for mitigating Serpent’s Fury damage to your group. And for those Flood of the Firelands soaks, group defensives are your bread and butter. Positioning is crucial here; you’ve got to bait mechanics away from the raid to avoid unnecessary damage.
With the Council of Dreams, your group defensives shine once again, mitigating the worst of their energy-triggered abilities. And don’t forget, Expunge can clean up that pesky Poisonous Javelin, keeping your team fighting fit. Your role is vital, so embrace it—your raid is counting on you!
Enhancing Team Survivability
In the heat of Amirdrassil’s battles, your swift reactions and strategic use of group defensives can turn the tide, ensuring your team’s survival against formidable foes. When Igira the Cruel channels her Blistering Spear, pop Zephyr to give your allies a fighting chance. If you’re staring down Volcoross, remember to soak Flood of the Firelands with your group’s defensives to withstand the inferno.
Against the Council of Dreams, timing is everything. Keep an eye on each boss’ energy, ready to mitigate the worst with a well-placed Renewing Blaze. Larodar’s Burning Ground will test your spatial awareness; use your defensive cooldowns judiciously to protect your team as you dance around the flames.
When facing Tindral Sageswift, Unravel is your best bet to break through his shield, but don’t forget to bolster your allies with personals and group defensives come Phase 3. Hover becomes your best friend here, allowing you to maneuver while maintaining your casting.
Frequently Asked Questions
How Does the Augmentation Evoker’s Role in a Raid Change in Encounters With Heavy Movement Versus Static Boss Fights?
In heavy movement encounters, you’ll adapt by using Hover to cast on the move, ensuring your raid’s buffs and heals are up. Static fights allow for more focus on damage output and positioning.
Can Augmentation Evokers Effectively Solo-Heal Any Specific Mechanics in Amirdrassil, or Are They Strictly Supplemental Healers?
You’re suited for support, not solo healing. In Amirdrassil, an Augmentation Evoker bolsters the team, but can’t cover comprehensive healing. Combine your capabilities with other healers for an effective encounter approach.
How Can Augmentation Evokers Balance Their DPS Output While Maintaining Sufficient Mana for Unexpected Healing or Buffing Requirements?
You’ll need to manage your mana carefully, using it judiciously for DPS while reserving enough for sudden healing needs. Prioritize high-damage spells and efficient heals to maintain your dual-role effectiveness.
Are There Any Hidden Synergies Between Augmentation Evoker Abilities and Other Class Abilities That Can Be Exploited for Greater Raid Efficiency?
As you master your Evoker, you’ll find that your abilities like Renewing Blaze can stack with a Paladin’s Aura Mastery, creating powerful defensive moments that turn the tide in challenging raid encounters.
What Are Some Advanced Tips for Managing the Cooldowns of Powerful Abilities Like Time Spiral and Unravel to Maximize Their Impact in a Raid Setting?
You’ll want to sync Time Spiral with phase changes for max impact. Unravel should be saved for shield bursts or high-damage windows. Coordinate with your raid for the best use of these cooldowns.
Get top-tier tips, tricks, and guides for every class and raid. Your adventure starts here!


